 AI WORLD HQ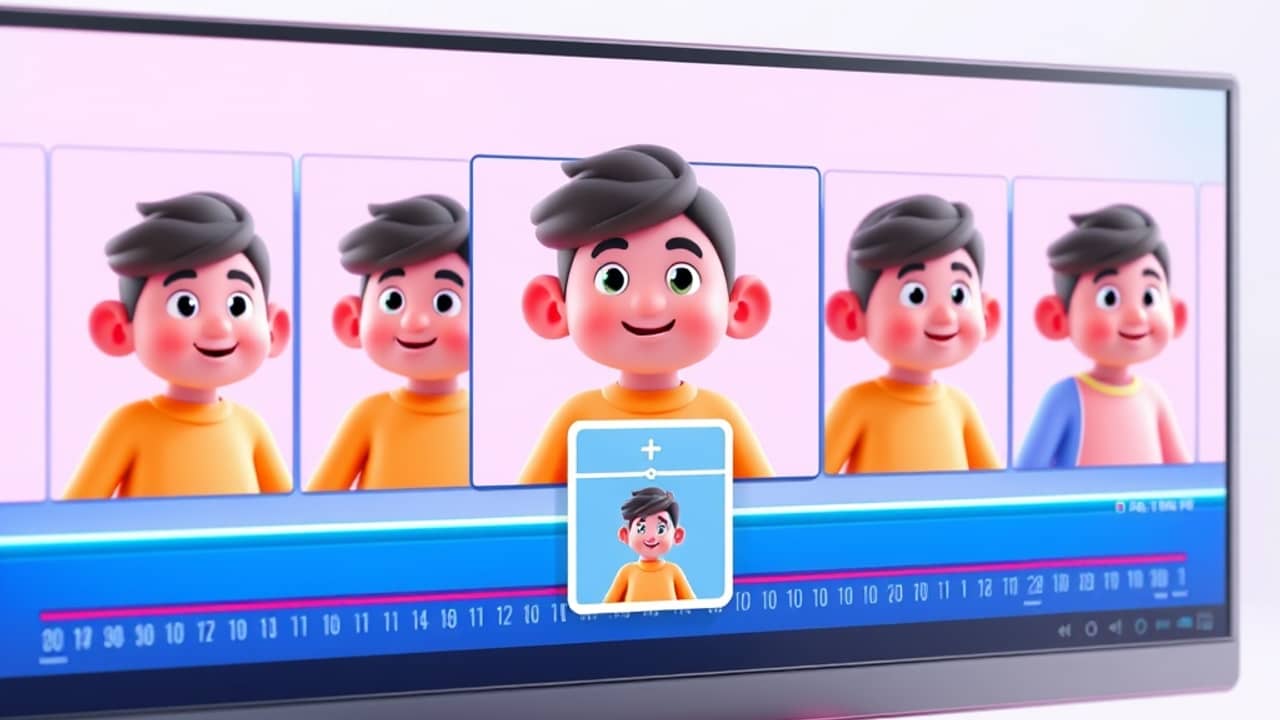
You generated a five-second AI video that looked great. Then you tried a 30-second version of the same character and suddenly they had different eye color, a new hairstyle, and possibly a different face. Here's the workflow real creators use to make longer AI videos where the character actually stays the character.
Before you start: tools you'll need
- An image generator to build your character's reference set (for example Midjourney, DALL-E, Stable Diffusion, or Flux).
- An AI video tool with image or character reference support — names include Runway, Pika, Kling, Luma Dream Machine, Sora, and Veo. Each tool labels this feature differently (look for things like "Image to Video", "Start frame", or "Character reference" — exact wording varies).
- A free video editor for stitching clips together (CapCut, DaVinci Resolve, or even your phone's built-in editor).
- A few hours. Plan to render more than you need and discard the bad ones.
Step 1 — Build a small reference set for your character
Before you touch the video tool, fix what your character looks like. In your image generator, create 4–8 images of the same person from different angles (front, three-quarter, side profile), different expressions (neutral, smiling, surprised), and one or two action poses (walking, holding something). Always keep the background plain.
💬 Example prompt to copy: "A young woman in her late 20s, short red hair, blue denim jacket, jeans, neutral gray background, full body, soft daylight — front view." Generate the same description again with three-quarter view, side profile, smiling, and walking.
Pick the four where the character truly looks identical across views, and save them in one folder for later.
You'll know it worked when you can line up your reference images side by side and feel like you're looking at the same person from four different directions.
Step 2 — Write a short "character bible"
This feels silly the first time. Do it anyway. Open a notes file and write down the exact visual details that make your character yours: hair color and length, eye color, skin tone, signature clothing, age range, any small marks (glasses, a scar, a tattoo). Every scene prompt you write later should copy these words almost word-for-word.
💬 Example bible entry: "Maya — late 20s, shoulder-length black hair, brown eyes, light brown skin, red knit sweater, blue jeans, white sneakers."
Then for each new scene, paste the bible first and add the action on the next line: "Maya — [bible] — walking through a busy night market, glancing over her shoulder."
You'll know it worked when you can paste your character description into any new prompt and the AI still returns Maya.
Step 3 — Generate scenes one at a time, not one long clip
This is the core trick. Don't ask for a 60-second video. Ask for one short scene at a time. Open your video tool and find its reference or image-to-video option (an upload icon, a "Start frame" button, or a "Character reference" setting — names vary by tool). Upload one of your reference images and write a short prompt describing only what happens in this one clip.
💬 Example prompt: "Maya walks through a crowded night market, glances over her shoulder, then smiles and waves."
Set the duration to the shortest option your tool offers (4, 6, or 8 seconds), and render. If your plan supports variations, generate 2–3 takes of the same scene so you can pick the best one.
You'll know it worked when each clip, watched on its own, looks unmistakably like Maya and matches the bible.
Step 4 — Keep lighting, framing, and outfit consistent across scenes
Most "the character changed!" moments are actually lighting or framing changes — the face is the same, but the daylight becomes neon. When you write a new scene prompt, paste your character's details AND add a short style line: "same warm evening light as the previous scene", "medium shot from chest up", "same red knit sweater."
💬 Example prompt opener to repeat across scenes: "Maya — late 20s, shoulder-length black hair, red knit sweater — medium shot, warm golden-hour light — [action]."
If a render drifts, regenerate it. You can't fix a wrong lighting mood in post.
You'll know it worked when a viewer can't tell where one clip ends and the next begins.
Step 5 — Stitch the clips together in a free editor
Drop your best clips into CapCut or DaVinci Resolve in the order you planned. Use short cross-dissolves (4–8 frames) between clips instead of hard cuts — dissolves hide the subtle "slightly different person" moments that often appear at seams. Add music and any text overlays here.
💬 Example timeline: "clip 1 (intro) → dissolve → clip 2 (action) → dissolve → clip 3 (reaction) → dissolve → clip 4 (ending)."
If two adjacent clips feel too jarring, add a 0.5-second freeze-frame at the tail of the previous clip before the dissolve.
You'll know it worked when the final video plays as one continuous story from start to finish.
Step 6 — Fix the seams (the last 10%)
Even with careful planning, you'll see one or two seams where the character looks slightly off. Don't regenerate the whole project. Instead:
- Re-cut around it: swap in a different take of the same scene.
- Hide it with B-roll: insert a 1-second cutaway (a close-up of a hand, a prop, the environment) between the two clips to distract the eye.
- Color-grade it: use the editor's color tool to nudge skin tone or warmth so adjacent clips match.
💬 Example fix: "between clip 2 and clip 3, insert a 1-second close-up of Maya's hand holding a coffee cup."
You'll know it worked when you can watch the whole video three times in a row without spotting a single jump.
Common mistakes
- Trying to generate one long clip. AI video tools rarely hold a character for more than a few seconds. Plan for many short clips, edited together.
- Skipping the reference set. Going straight from "idea" to "video prompt" is the most common reason characters morph.
- No character bible. If your wording shifts between scenes ("red sweater" then "maroon top"), the AI treats them as different outfits.
- Hard cuts between clips. Cross-dissolves hide most seams; hard cuts exaggerate them.
- Trying to patch bad clips in the editor. AI-generated footage is what it is. Regenerate, don't repair.
Wrap-up
A "consistent character" in AI video isn't a single prompt — it's a workflow: reference images first, a written character bible, scene-by-scene generation, gentle cross-dissolves in the editor, and a small fix-it pass at the end. Budget an afternoon for your first project. By the third one, you'll have a process you can reuse for any story you want to tell.
Next step today: open your image generator and create your first reference image. Just one. Front view, plain background, full body. That's where every longer AI video starts.