 AI WORLD HQ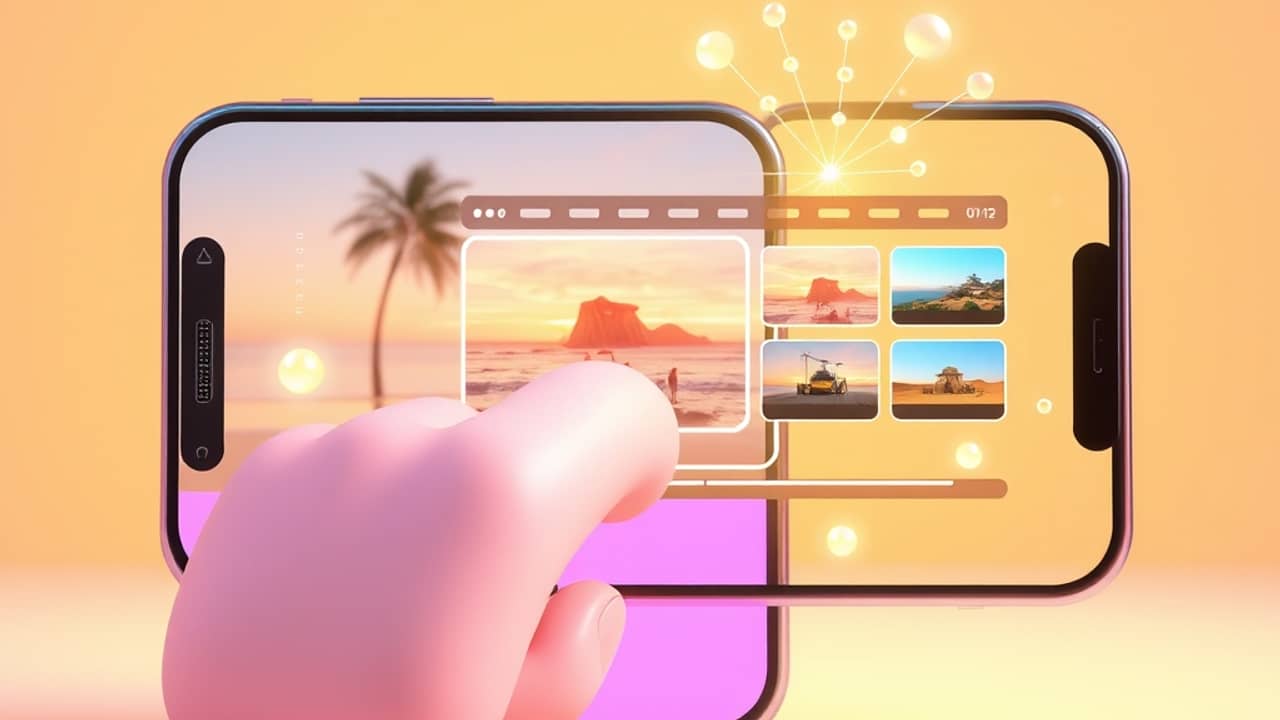
That stack of vacation photos has been sitting on your phone for months. The kids' soccer game footage is too long to share with relatives. Your side hustle could really use a 30-second promo, but you've never opened a video editor. A new wave of AI tools now promises to handle the whole thing — and the best of them do it surprisingly well.
What an "AI reel director" actually does
A traditional reel is a short vertical video — think Instagram Reels, TikTok, or YouTube Shorts — anywhere from 15 to 90 seconds. To make one the old way, you need an editing app, a sense of pacing, music, transitions, and patience.
An AI reel director flips the workflow. Instead of dragging clips around on a timeline, you hand the AI three things:
- A brief — a short description of what you want the video to be about, in plain words.
- A starting point — usually a few of your own photos, or sometimes just your idea.
- Optionally, a style — "cinematic", "playful", "vintage", and so on.
From those, the AI builds a storyboard (a rough shot list: "scene 1: opening shot of the beach; scene 2: close-up of footprints; scene 3: pan up to the sky"). When you approve it, the AI generates the video, lays in music, and hands you a finished clip.
You're not driving an editor. You're briefing a director.
Before you start: what you'll need
Most of these tools work in your web browser, though some live as phone apps. Before you begin:
- An account. Sign-up is usually free; full features may need a paid plan.
- 5 to 10 photos (more on what kinds in the next step).
- One sentence describing your reel's vibe — happy, dramatic, nostalgic, energetic.
- A few minutes of patience for the first generation, since the AI needs time to "think" before it produces video.
Step 1 — Decide what story you want to tell
Before you touch any tool, spend two minutes answering one question: what is this reel for?
Is it a birthday tribute? A travel memory? A 30-second ad for your small shop? The answer shapes everything — the photos you'll pick, the music, the mood. AI tools respond best when the brief has a clear purpose.
💬 Example brief: "A 30-second birthday reel for my mom — nostalgic, warm, ending with 'happy 60th, love from us all.'"
You'll know it worked when you can finish this sentence out loud: "When someone watches this reel, I want them to feel ___."
Step 2 — Gather your raw ingredients
Pick 5 to 10 photos that match your story. The AI uses them as anchors — basically, "this is what the people and places look like."
A few rules of thumb:
- Variety helps. Mix wide shots (the whole group at the table) with close-ups (a hand on a shoulder, a candle on a cake).
- Good lighting wins. Blurry, dark photos make blurry, dark video.
- Skip duplicates. Five similar shots of the same sunset is one shot, not five.
Drop them into a single folder on your phone or laptop so you can upload them all at once.
You'll know it worked when the photos together tell the story even without any words.
Step 3 — Open the tool and write a clear brief
Find the "new project" or "create reel" button — it's usually on the home screen or behind a big plus (+) icon.
You'll see a text box inviting you to describe your video. This is the prompt — the instruction you give the AI. Be specific:
- Subject: who or what is the reel about?
- Mood: cozy, dramatic, fun, sad, romantic?
- Length: most tools default to 15-30 seconds; some let you choose.
- Style (if the option exists): cinematic, photojournalistic, animated.
💬 Example prompt: "Make a 30-second cinematic reel of my mom's 60th birthday. Start with the cake being lit, then a hug, then a group toast. Mood: warm and nostalgic. Music: soft piano."
You'll know it worked when the AI echoes back something that matches your intent — or asks a clarifying question.
Step 4 — Review and adjust the storyboard
After you submit the brief, the AI shows you a storyboard — a sequence of planned scenes, often with rough thumbnails or short text descriptions. Read it like a director: does the order make sense? Does the pacing feel right?
You can usually:
- Reorder scenes by dragging them.
- Edit scene descriptions ("make this scene slower" or "swap in the wider photo").
- Delete scenes that don't fit.
- Add scenes for moments you forgot.
Don't skip this step. Two minutes here saves a generation you'll throw away.
You'll know it worked when you can imagine watching the reel play through, scene by scene, and nod along.
Step 5 — Generate, watch, and (if needed) regenerate
Hit the generate button and wait. Depending on the tool, this can take a minute or two — the AI is essentially animating each scene, stitching them together, and picking music.
When the clip is ready:
- Watch the whole thing without sound first. Pacing issues are easier to spot that way.
- Watch it again with sound. Does the music match the mood?
- Regenerate if needed. Most tools let you try again with the same brief — and the result is different every time, since AI has a touch of randomness built in.
You'll know it worked when you can't resist showing the person sitting next to you.
Step 6 — Add finishing touches and post
Most AI reel makers export a finished MP4 — the standard video file format that plays almost anywhere. From there:
- Download the file to your phone or laptop.
- Open Instagram, TikTok, or YouTube Shorts and upload as usual.
- Add your own caption and hashtags — the AI doesn't know your audience.
- Save the source brief — if you liked the result, you'll want to make more in the same style.
A quick note: if you're posting for a business, glance at the tool's commercial-use policy first. Rules about disclosing AI-generated content vary by platform, and they keep changing.
You'll know it worked when the reel is live and someone has commented something nicer than "cool video."
Common mistakes
- Vague briefs. "Make a nice reel" gives the AI nothing to aim at. Always include subject, mood, and length.
- Too many photos of the same thing. Ten nearly identical sunset shots equal one bad clip. Curate.
- Skipping the storyboard. It's tempting to jump straight to generate, but you'll waste credits on a video you don't like. Two minutes of editing here saves five minutes of regenerating later.
- Forgetting to check usage rights. If you're posting for a brand or business, read the tool's commercial-use policy before you publish.
Wrap-up
AI reel directors won't replace a real cinematographer — but for the 90% of us who just want a polished short video without learning an editing app, they're a real time-saver. Pick a story, gather your photos, write a clear brief, and let the AI handle the editing. Your first reel won't be perfect; your third one will be good enough to post.
Try one this weekend. Pick five photos you've been meaning to share, and see what the AI does with them. You'll learn more from one finished clip than from a dozen tutorials.