 AI WORLD HQ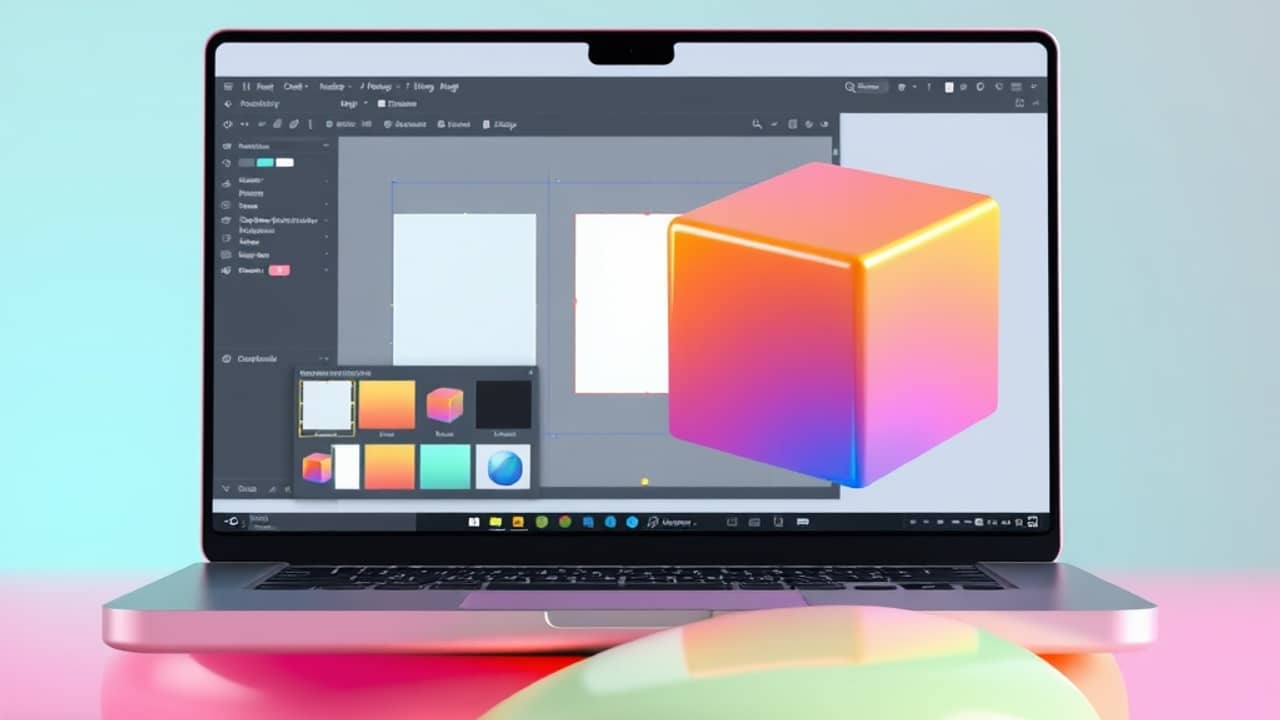
You don't need a graphic design background to see your product on a shelf. A few years ago, that meant hiring a studio. Today, you can sketch the idea on a napkin, ask an AI to turn it into artwork, lay it out in a free design app, and then drop that flat layout onto a 3D box mockup — all before dinner. This guide walks through a workflow you can actually follow today.
Before you start
A quick honest note: AI gives you a strong head start, but it won't read your mind. The better your idea going in, the better the result coming out. Spend ten minutes before opening any tool answering three questions on paper or in a notes app:
- Who is this for? A friend, a buyer, a customer? This decides the mood.
- Where will it live? A grocery shelf, a craft fair table, a shipping box?
- What's the one feeling you want someone to have when they pick it up?
That short list becomes the brief you paste into every AI prompt later. It's the difference between "make it nice" and a mockup that actually looks like a real product.
You'll also need:
- A free account on an AI chatbot (ChatGPT, Claude, or Gemini all work for the brainstorming and copy steps)
- A free or paid account on an image generator (DALL·E, Midjourney, or the image tools built into ChatGPT, Claude, or Canva)
- A free Canva account for laying out the flat artwork
- About 60–90 minutes the first time you do this
The four-step workflow
The trick is treating this as a chain — one step feeds the next — instead of trying to get everything in one prompt.
Step 1 — Generate the concept and the copy
Open your chatbot of choice and start with the brief you wrote. Ask for three things at once: a product name, a one-line tagline, and three flavor or variant ideas if applicable.
💬 Example prompt:
"I'm designing packaging for a small-batch hot sauce brand aimed at home cooks ages 25–45. Tone: warm, a little playful, not macho. Give me a product name, a tagline under 6 words, and three flavor variants with one-line descriptions each."
You'll get a wall of suggestions. Pick the combination that makes you smile. If nothing lands, ask for ten more in a different direction — say, more nostalgic, or more minimal.
You'll know it worked when you can read the name out loud to yourself and immediately picture the bottle.
Step 2 — Create the artwork
Take the name, tagline, and flavor copy from Step 1 into an image generator. Be specific about style: hand-drawn, vintage label, modern minimalist, retro 70s — whatever matches the mood you want.
💬 Example prompt:
"A vintage apothecary-style label illustration for a hot sauce called 'Slow Burn Co. — Smoked Habanero.' Earth-tone palette, hand-drawn pepper motif, room for the product name and tagline. Flat design, no perspective."
The words "flat design, no perspective" matter — you're building a 2D label that will wrap onto a 3D shape later. If the image comes back with shadows or angled views, regenerate and add "purely flat, like a sticker."
You'll know it worked when the image looks like something you could peel off and stick onto a jar. Save it as a PNG with a transparent background if the tool offers that option.
Step 3 — Lay out the flat artwork in Canva
This is where most beginners skip ahead and regret it. A great AI image still needs to be assembled into a real label: name on top, tagline below, ingredients list, net weight, barcode placeholder, your logo if you have one.
Open Canva, pick a custom canvas size matching the surface you'll wrap (a 2x3 inch label for a small jar is a fine starting size), and import your Step 2 image. Add the text from Step 1 using Canva's text tool. Keep fonts to two — one for the name, one for everything else.
💬 Example prompt to paste into a chatbot if you get stuck on layout:
"Here's my hot sauce name, tagline, and flavor. Suggest the text hierarchy for a 2x3 inch label — what should be biggest, second, smallest?"
You'll know it worked when you can squint at the design and still read the product name clearly. If you have to lean in to read it, the type is too small.
Step 4 — Render the mockup on a 3D shape
Now the fun part. Take your finished flat artwork and place it on a box, bottle, pouch, or tin. A few free routes:
- Canva's mockup feature — search "product mockup" in Canva's templates, drop your label design into the placeholder, and the tool warps it onto the shape for you.
- Smartmockups.com — a free tier that accepts a flat image and returns a photorealistic shot.
- ChatGPT or Gemini image tools — upload your finished label and ask: "Place this label on a small amber glass bottle on a wooden table, soft natural light, photo style."
Each option gives a different look. Canva is fastest; Smartmockups looks most like a real catalog photo; the chatbot route is most flexible if you want to try the same label on different containers.
You'll know it worked when you'd believe the photo if you saw it on a friend's Instagram.
Common mistakes
- Asking for everything in one prompt. "Design a hot sauce label including name, tagline, and 3D render" usually gives a muddy compromise. Chaining steps gives you control at each stage.
- Forgetting the flat-design instruction. A label rendered with perspective looks dramatic in isolation but won't wrap onto anything cleanly. Always ask for flat output in Step 2.
- Skipping the text hierarchy. AI-generated artwork often has beautiful imagery and unreadable text. Add the type yourself in Canva with a clear size order: name biggest, flavor second, everything else small.
- Not saving your source files. When you find a combination you love, save the original AI image, the Canva file, and the final mockup separately. You'll want them again.
- Treating the first result as final. The first output is a draft, not a deliverable. Plan on regenerating at least three times per step before you settle.
Wrap-up
The chain — concept, artwork, layout, mockup — is the part worth remembering. The specific tools will keep changing. Run through it once this week with a product you actually care about. By the second try, you'll have a mockup good enough to show a printer, a co-founder, or a customer — and you'll have spent less on it than a single lunch out.