 AI WORLD HQ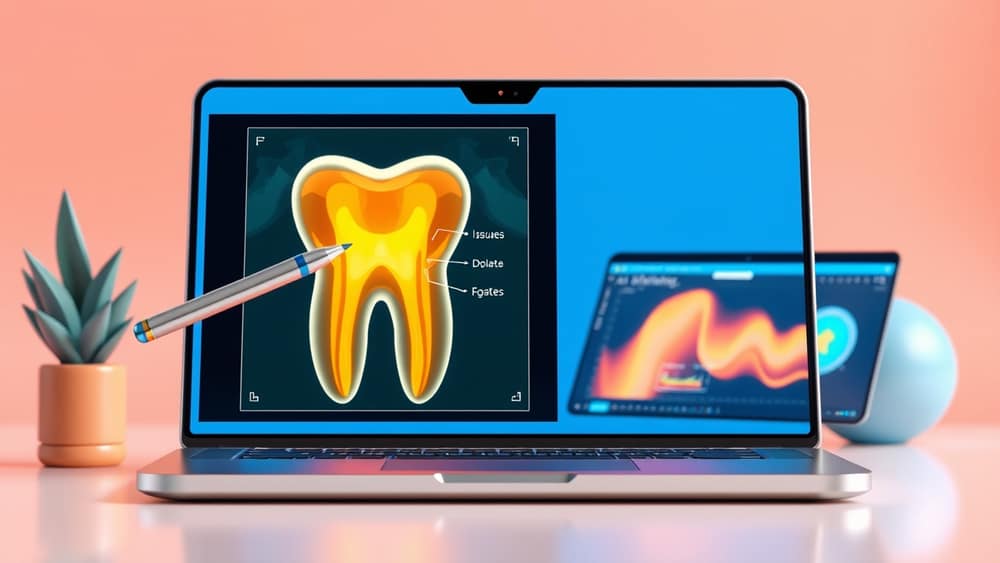
Boosting Dental X‑ray Quality with Real‑Time AI Checks
Hook: Ever walked into a dentist’s office and left with a blurry X‑ray that needed a repeat? That extra wait can mean more radiation, higher costs, and a longer appointment. Now AI can catch those issues the moment the image is taken, keeping the scan sharp and saving everyone time.
How AI can verify dental images in real time
- Capture the X‑ray – The sensor in the dental unit records the image and sends it straight to a small computer (often called a “edge device”) attached to the machine.
- Send to the cloud – The edge device forwards the picture to Amazon SageMaker (a cloud service that lets developers run machine‑learning models without building the infrastructure themselves).
- Run the model – SageMaker hosts an AI model (a trained algorithm that recognises patterns). It looks at the picture for common problems: under‑exposure, motion blur, missing teeth, or unclear contrast.
- Return the verdict – Within seconds the model replies with a simple status: “Good to go” or “Retry – adjust angle/exposure”. The dental staff sees the feedback on their screen and can retake the shot immediately if needed.
Technical note: A model is a set of mathematical rules that have learned from many examples. Inference (the step above) is just the model applying that knowledge to a new image. Real‑time means the whole process finishes quickly enough to be useful while the patient is still positioned.
Setting up the system in a dental practice
| Step | What to do | Why it matters |
|---|---|---|
| 1. Choose a compatible X‑ray unit | Look for machines that can export images via Ethernet or Wi‑Fi. | The AI needs the picture instantly; wired connections are the most reliable. |
| 2. Create an AWS account | Sign up for Amazon Web Services and enable SageMaker. You’ll only pay for the compute time you actually use. | No need for expensive on‑site servers – the cloud scales with you. |
| 3. Deploy a pre‑trained dental model | Many vendors provide a ready‑made model for dental image quality. Upload it to SageMaker and set up an endpoint (a URL that accepts image data). | Saves you from training a model from scratch – it’s already learned from millions of X‑rays. |
| 4. Connect the X‑ray machine to the endpoint | Use a small script (often in Python) that sends the image to the endpoint and receives the result. The script can be run on a cheap Raspberry Pi or a Windows PC. | This script is the bridge that makes the whole workflow automatic. |
| 5. Test and calibrate | Run a handful of images, check the AI’s feedback, and adjust the machine’s exposure settings if needed. | Calibration ensures the AI’s suggestions match your clinic’s standards. |
| 6. Train the staff | Show the dental team how to read the AI’s alerts and retake images promptly. | Faster decisions mean less patient downtime and fewer repeat exposures. |
Tips for patients: getting the best X‑ray the first time
- Sit still – Small movements can blur the image; the AI will flag this instantly.
- Follow the dentist’s bite position – Proper alignment reduces the need for a second shot.
- Ask about the AI check – Knowing the clinic uses real‑time AI can give you confidence that the image will be reviewed before you leave.
Wrap‑up
Real‑time AI checks are turning dental X‑rays from a “maybe‑good” snapshot into a guaranteed, high‑quality image the moment it’s taken. By linking your X‑ray unit to Amazon SageMaker, clinics can instantly spot problems, cut down on repeat scans, and keep patients safer. Give it a try today: if you’re a practice owner, set up a basic SageMaker endpoint and run a few test images. If you’re a patient, ask your dentist whether they use AI‑driven verification – a quick question can lead to a smoother, faster visit.