 AI WORLD HQ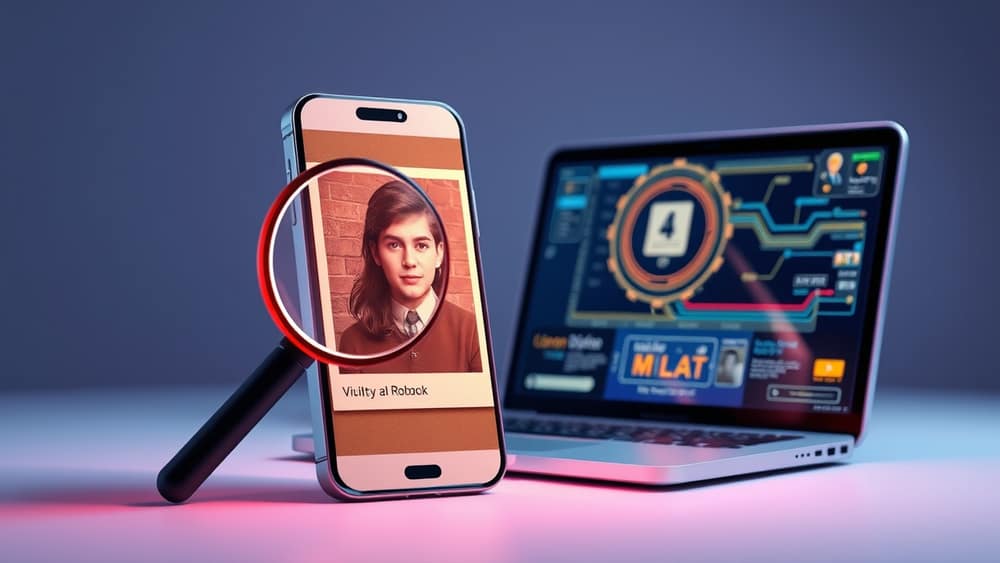
How to Make Your Own 90s AI Yearbook Photo (Step-by-Step Guide)
You've probably scrolled past them by now: a friend, a cousin, maybe even your own barista, posted a soft-focus portrait that looks like it was torn straight from a 1996 high school yearbook. Big hair, denim jacket, that slightly orange studio lighting. Except it wasn't really them in 1996. It was made by an AI image generator (a tool that creates pictures from a text description you type in). The trend has gone viral for a reason - it's a quick, playful way to see yourself in a different decade. Here's how to have a go yourself.
What the 90s "look" actually is
Before you start typing prompts, it helps to know what you're aiming for. The classic 90s yearbook photo has a few signature ingredients:
- A soft, slightly washed-out colour palette (think faded blues and peachy skin tones)
- A plain or softly blurred background in pastel or neon
- A studio-style pose - head slightly tilted, shoulders straight, mild smile
- Soft, even lighting that flattens shadows
- Outfits from the era: denim jackets, plaid shirts, turtlenecks, scrunchies, bomber jackets
You don't need to include every detail. Even a couple of these in your prompt (the instruction you give the AI) will steer the image in the right direction.
Two ways to try it
Option 1: A dedicated app Some apps are built specifically for this kind of style transfer (where the AI copies the "look and feel" of one image style onto your photo). The one that kicked off the trend is called Epik AI, an AI photo app. You upload a few selfies, pick a style, and it generates the yearbook-style images for you. It's the simplest route if you want results fast.
Option 2: A general AI image generator If you already use a tool like Midjourney, DALL-E, or Stable Diffusion, you can create something similar by writing your own prompt. The advantage here is more control over outfits, lighting, and background. The disadvantage is a slightly steeper learning curve.
Writing a prompt that actually works
If you go the general image-generator route, here's a simple prompt template you can adapt:
"1990s American high school yearbook photo of a [your age]-year-old [man/woman/person] wearing a [denim jacket/plaid shirt/etc.], soft studio lighting, plain pastel blue background, soft focus, film grain, head and shoulders portrait"
A few tips that make a big difference:
- Be specific about the decade. Saying "vintage" is too vague. "1990s" is clear.
- Mention the framing. "Head and shoulders" or "passport-style" tells the AI how to crop you.
- Add texture words. "Film grain", "soft focus", and "slightly faded" all nudge the look.
- Try two or three versions. AI image tools give you several results at once - pick the one that feels most you.
A quick word on privacy
You're uploading your face to an app or a web service, so it pays to be thoughtful. Read the privacy policy (a short document explaining what the company does with your photos). Check whether your images are used to train future AI models. If that bothers you, look for tools that explicitly say they don't. And never upload photos of kids without thinking it through carefully.
Wrap-up
The 90s yearbook trend is a friendly entry point into AI image generation - low stakes, lots of personality, and a finished result you can share straight away. Pick a tool, write a clear prompt, and try a few variations until one makes you smile. Your next step today: gather four or five clear, well-lit selfies and have your first go.