 AI WORLD HQ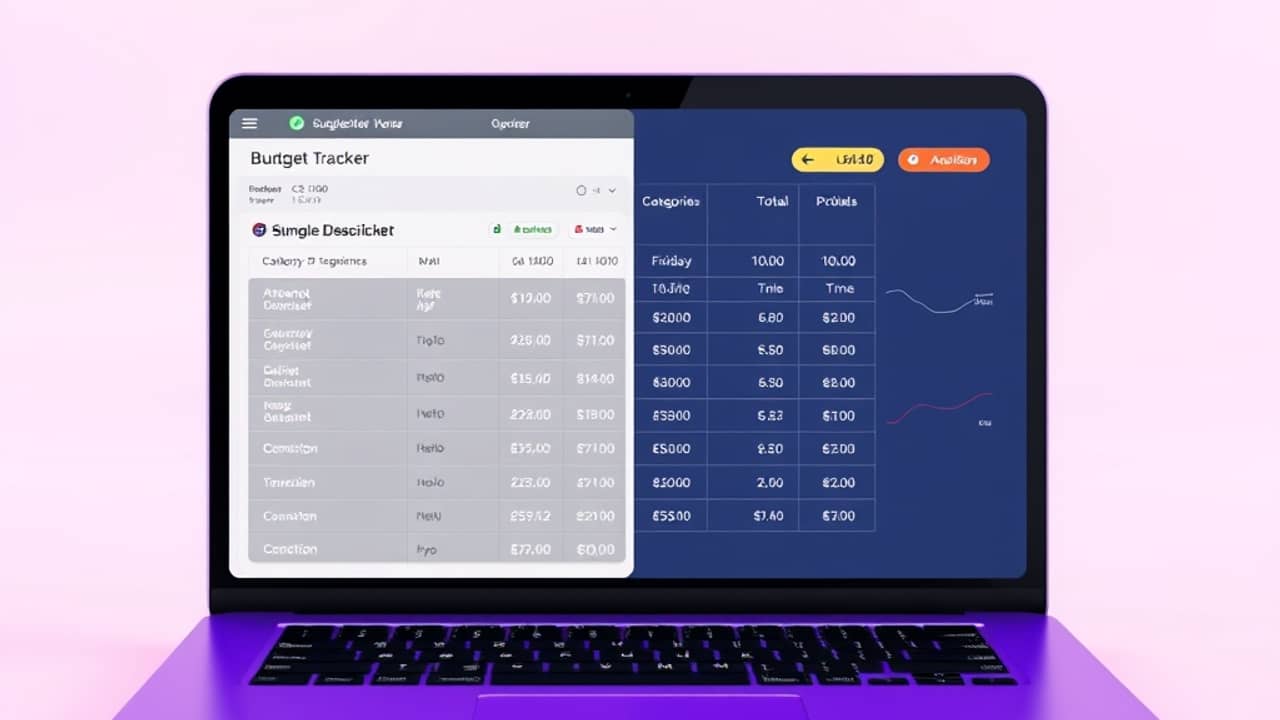
You have an idea for a small app — a budget tracker, a reading list, a tool that renames a batch of files. For years, that idea would have stayed in your notebook unless you paid a developer or spent months learning to code. That is starting to change. A new wave of AI tools can read your description in plain English and generate working software in minutes, and several of them now offer free access for casual users.
This approach is sometimes called vibe coding. The idea is simple: instead of typing instructions for a computer in a programming language, you describe what you want in normal sentences and let the AI figure out the technical bits. You stay focused on what you want the app to do, not how it is built.
What you'll need before you start
- A free account with an AI app-building platform. Replit is one well-known option; there are others with similar capabilities. Signing up usually takes under a minute with an email address.
- A web browser. No software to install.
- One specific idea — not "an app that does everything", but something small and clear.
- A few spare hours. An afternoon is plenty for a first project.
You don't need a computer science degree. You don't need to know what HTML means (and if you do, that's fine too — the AI won't be offended).
Step 1 — Pick one small, specific idea
The biggest mistake first-timers make is choosing something too big. "Build me the next Instagram" is a multi-year project for a team of engineers. "Build me a tool that helps me log which houseplants I've watered this week" is something you can finish today.
A good first idea has three qualities:
- It solves a problem you actually have. If you don't care about the result, you'll lose interest when things get fiddly.
- You can describe it in two or three sentences. If you can't, the idea isn't clear enough yet.
- It doesn't need other people to work. Skip anything that requires login systems, payments, or moderation for your first try.
A few ideas that fit: a personal reading list, a weekly meal planner, a simple countdown to a date you care about, a tool that pulls a name randomly from a list of your friends for picking who pays for lunch.
You'll know this step worked when you can say your idea out loud in one breath and another person would understand what it is for.
Step 2 — Write a clear description of what you want
Now turn that idea into a short paragraph you can paste into the AI. The clearer you are, the better the first version will be. A useful trick is to answer four questions:
- What does the app do? One sentence.
- What can the user do in it? A few short bullets.
- How should it look? Plain colors? Big buttons? Mobile-first?
- What should it remember? Should it save data between visits?
Here is an example description for a reading list app. You can copy it and adapt it for your own idea:
💬 "Build me a simple web app where I can add books I'm reading or have finished. For each book, I want to type the title, the author, and pick a status: 'Want to read', 'Reading', or 'Finished'. Show me all my books in a list below the form. Use a clean white background with dark text. Save the list to my browser so it stays after I close the page."
You'll know this step worked when you can imagine a friend reading your description and drawing the app on a napkin.
Step 3 — Open an AI app builder and paste your idea
Go to your chosen platform — for example, Replit — and start a new project. Most of these tools have a chat box or a "describe what you want" panel right at the start. Paste your description into it and press enter or click the button to send it.
A few practical pointers:
- Don't add a polite "please" or "thank you" at this stage. Plain instructions are easier for the AI to follow.
- Watch what happens next. The AI will start producing code into the workspace. This usually takes 30 seconds to a few minutes.
- Don't panic if you see strange text. Even if you have never seen code before, that's normal. The AI is doing the writing, not you.
You'll know this step worked when you see the AI producing lines of code, a preview window appears, or both. The tool should give you some signal that it is "thinking" or "building."
Step 4 — Review what the AI made and ask for changes
Once the AI finishes, look at what it produced. Most platforms have a preview pane that shows the actual app — click around in it as if you were a real user.
Things to check:
- Does it do what you asked?
- Does it look the way you imagined?
- Anything missing or broken?
If something is off, just tell the AI in plain English. For example:
💬 "The 'Add book' button is too small. Make it bigger and put it at the top." 💬 "When I mark a book as 'Finished', I want it to move to the bottom of the list." 💬 "Add a search box at the top so I can filter by title."
This back-and-forth is the heart of vibe coding. Each small change teaches both you and the AI what you actually want. After four or five rounds, the app usually feels like yours.
You'll know this step worked when you have tried at least one change and seen the app update to match.
Step 5 — Try it out for real and look for rough edges
Before you show anyone or call it done, use the app like a real user would for ten or fifteen minutes. Click every button. Type weird inputs. Try to break it. This step catches the small problems an AI can miss: a button that doesn't work on slow internet, a form that breaks if you leave a field blank, a layout that looks bad on a phone.
If you find something, send another short message to the AI:
💬 "When I leave the title field empty and click Add, the page crashes. Make it show an error message instead."
You'll know this step worked when you can use the app without thinking about the AI that built it. It just feels like a normal tool.
Step 6 — Save, share, or keep improving
Most platforms save your work automatically as you go. To keep your project safe:
- Make sure you are logged in when you close the browser.
- Look for a "share" or "publish" button if you want to send a link to a friend. Free accounts often let you share a public link without any cost.
- Bookmark the page so you can come back and tweak it later.
You don't have to "finish" it today. Plenty of vibe-coded apps evolve over weeks as new ideas come up.
Common mistakes to avoid
- Starting with a vague prompt. "Make me a useful app" gives the AI nothing to work with. The more specific your description, the better the result.
- Trying to build too much at once. Add features one at a time. A working simple app beats a broken fancy one.
- Skipping the click-around test. The preview looks nice, but you only find bugs by actually using it. Spend five minutes being a difficult user.
- Forgetting to describe the visual style. If you don't say "clean and minimal" or "colorful and playful", the AI will guess, and you may not love the result.
- Giving up after one round. The first version is rarely perfect. Two or three rounds of small tweaks usually get you most of the way there.
Wrap-up
You don't need to become a programmer to build small software anymore. With free AI tools like Replit and a clear description of what you want, an afternoon is enough to go from "I wish I had an app that…" to "Look, I made an app." Pick one small, specific idea today, write it down in plain English, and see what happens. The first version will not be perfect — and that is exactly the point. The fun is in shaping it into something that is actually yours.